Continue to Site

Welcome to our site!

Electro Tech is an online community (with over 170,000 members) who enjoy talking about and building electronic circuits, projects and gadgets. To participate you need to register. Registration is free. Click here to register now.

  • Welcome to our site! Electro Tech is an online community (with over 170,000 members) who enjoy talking about and building electronic circuits, projects and gadgets. To participate you need to register. Registration is free. Click here to register now.

How to build this kit? [AVR DDS Function DDS Signal Generator]

Status
Not open for further replies.

J_Nichols

Member
Hi guys.

Recently I have found an electronic kit at home that I bought on eBay some months ago. I have no idea how to start building it because as far I can remember I have not instructions and also no experience at all.

I have been searching on my email to know where I bought it and I checked the website and they offer no information.

So, at the moment I have all these electronic components:
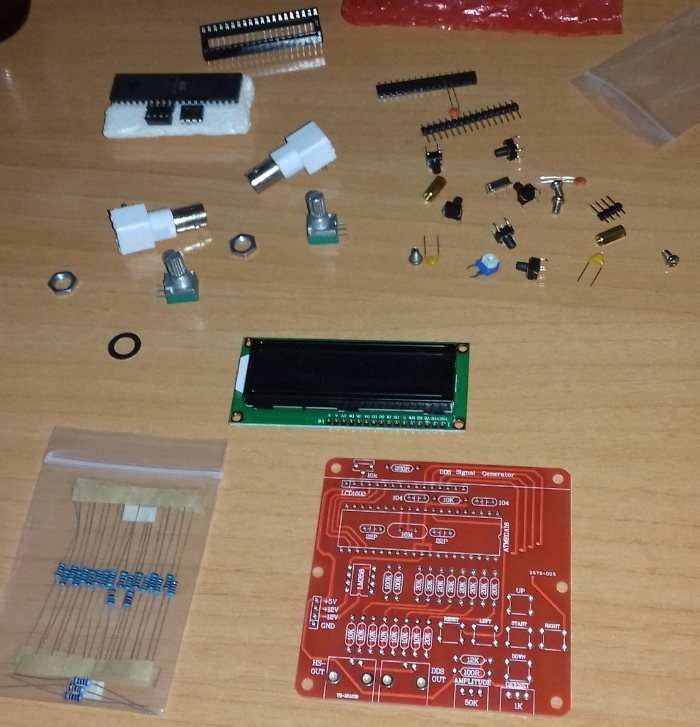
8zVWPi.jpg


Before starting building it, I want to know if it is possible to feed power with an ordinary battery (maybe with 9 volts one?) or I need an additional circuit to power this circuit.

If the answer is that I can power the circuit without any additional circuit, then I want to start building this circuit but I don't know where to start.

Thanks.
 
Hi guys.

Recently I have found an electronic kit at home that I bought on eBay some months ago. I have no idea how to start building it because as far I can remember I have not instructions and also no experience at all.

I have been searching on my email to know where I bought it and I checked the website and they offer no information.

So, at the moment I have all these electronic components:
8zVWPi.jpg


Before starting building it, I want to know if it is possible to feed power with an ordinary battery (maybe with 9 volts one?) or I need an additional circuit to power this circuit.

If the answer is that I can power the circuit without any additional circuit, then I want to start building this circuit but I don't know where to start.

Thanks.

The components (values where required) are clearly marked on the board, so no need for instructions.

You can't run it directly from a 9V battery as it requires three power rails, 5V for the the micro and +/- 12V for the opamp output.

If you want instructions, check at:

https://www.banggood.com/DDS-Functi...e-p-958215.html?rmmds=search&cur_warehouse=CN

Which has a dropbox link for the instructions, plus a suitable PSU link:

**broken link removed**
 
Just removed the LCD display from mine and took a few pics, which should help with the IC orientation and resistor placement.

IMG_1103.jpg


IMG_1104.jpg


IMG_1105.jpg


IMG_1106.jpg


IMG_1107.jpg


If you haven't yet started, begin with the lowest profile devices, which would be the resistors.
Next, solder the 2 yellow "104" capacitors, crystal & brown "18pF"capacitors, followed by the IC sockets & LCD header.
After those, you can solder the 10K potentiometer and the 4 pin header, then the tact switches and the 2 green potentiometers for amplitude & offset.
Lastly, solder the BNC sockets and install the brass posts for supporting the LCD display.
Solder the header to the LCD display, insert the 2 IC's with the notches as shown in the 1st image, then install the LCD display.
For power, you can use the FDD connector on old ATX power supply, BUT.... you will have to swap a couple of pins and make sure to rewire it as follows:
+5V = Red
+12V = Yellow
-12V = Blue
GND = Black

https://xtronics.com/wiki/ATX_Pinout.html

Regards.

EDIT: This should help out with the resistor colours too:
https://www.resistor-calculator.com/
 

Attachments

  • IMG_1108.jpg
    IMG_1108.jpg
    124.8 KB · Views: 332
  • IMG_1109.jpg
    IMG_1109.jpg
    119.2 KB · Views: 321
Last edited:
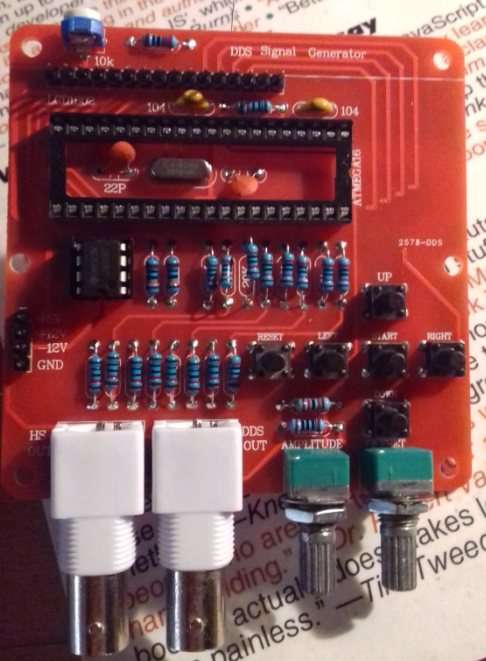
Hello guys, I have finally soldered the circuit. I have done some mistakes (it's my first circuit), but I think it's not really bad.
Here you have the picture
J9EFzv.jpg
 
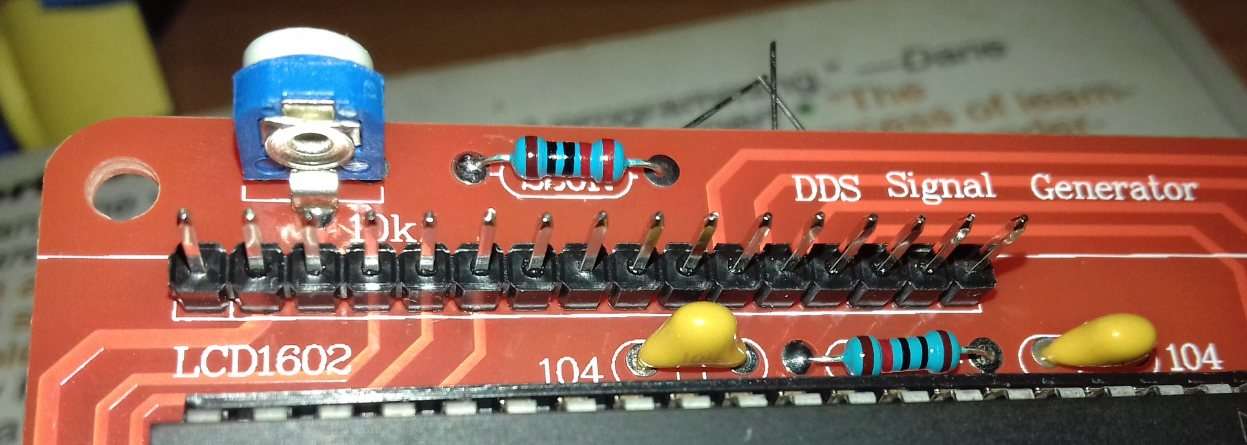
Assuming you mean the connector for the LCD?, then it doesn't matter - simply fit the female part on the LCD - it makes no difference which is plug or socket.
Yes, sorry. I mean the connector for the LCD. I have soldered the inverse part in the LCD instead of soldering it in the board.
 
Status
Not open for further replies.

Latest threads

New Articles From Microcontroller Tips

Back
Top